Tuesday, August 25, 2009

Excellent DRL Writeup By BMW540San @ Roadfly.com

528 location


540 location


Ground location on both cars (next to right microfilter box)


12V switched power from e box to energize DRL relay (same on both cars)


Constant 12V for DRL when energized (both cars same with difference in wire routing)


Last wire connected to right low beam +wire and then jumped to left headlight, routed underneath front radiator cover.


Jump wire comes out to the left headlight.


Total cost for both cars $90, including flame retardant wire protector for clean look and extra protection. Since is next to impossible to find 12 switched that goes to Ov while cranking, there is a cheaper DRL from same company for $26 shipped that doesn't have that extra wire.

Supurb E39 FSU Writeup By Eurodavid @ Roadfly.com

Hi again.

Well, here's a little DIY writeup for our board (so you don't have to navigate to the 540i.com board for that writeup), plus I added some things that the other writeup doesn't have. Again, it is pictorial format with comments added to the pictures. All i have to say about this procedure is that they (our lovely German engineers) couldn't have designed a more tight fitting area than what they did when attempting to R&R this piece. Unless you have small (read: girlie hands), this procedure is a PIA. Here's the pics and hopefully they will tell the story:


Well, that's it. Enjoy the rest of your Sunday, gang. I'm going in to see if the wife will still talk to me, and if the kids remember who I am. Perhaps I should just stumble in the door wearing lederhosen, drunkly babbling about our vaunted Bavarian engineering.

Eurodavid

Supurb E39 Steering Removal By RMedure @ Roadfly.com

So here you guys go. its all self explanatory, but Ill put a little words on top of each photo for you!

The first is to take out two screws T10 hex type from the console.


Next you will need to take out one each Cross head screw from the bottom and one from the top!


Next thing is to simply snap the console apart. Its not that difficult.
In fact....make sure you dont pull too hard. Or drink any beer before you do it. :-)


In the next photo, simply stick something in the slot where I have my screwdriver. Then while sliding the lock towards the drviers side give the plug a slight pull and viola! Out she comes.


Read note in picture. :-)


And read the note here too.


From underneath....scratch the two devil eyes out with anything. Its only a hard plastic. Kind of like a locker to hold the screws in.


Next take a small flat tip and loosen the two screws you just uncovered. And basically that's it. That ignition comes out in your hand!


E39 Moon Roof Fix

Look familiar? This is a typical break in our E39 moon roof. Just a crappy little sliding tab. This is how I fixed it.


This recently became my reality like so many BMW owners before me. No matter how gentle we are on our moonroof, these little sliding tabs break without provocation- disabling the tilt feature.

I am out to rectify BMW's shortcoming on this one. MDIMBLER was the most recent fellow to post about this on Roadfly, he is having to pay $104 ($52 each side) for the entire right & left control rail kits! (read about it @ http://bimmer.roadfly.com/bmw/forums/e39/9333764-1.html ) Really he, like most of us, only needed this stupid little tab. But BMW COULDN'T possibly allow you to buy a single piece could they?!

Well, I am NOT going to pay $52 per side ($85 BMW list price) for this piece of crap. The current part is made of POM (aka Acetals/polyoxymethylene). It is cousin to nylon but handles water better.

Properties include:
-Higher strength than ABS or PVC
-Tough
-Abrasion resistant
-Low water absorption

Applications include:
-Gears or mechanical parts, esp. in water
-Sliding parts

Here are my options for replacing/reproducing this part:

1) I can make a new set out of aluminum. It would be much stronger, but if the glass were pushed down on or the assembly overstressed in some other way, something else would fail- maybe something more expensive! Time to have the first completed, working part ~2-3 weeks

2) I can take the OEM tab sliders and cast them in silicone to create a negative mold. I can then make unlimited exact replications quickly by pouring in 2-part mix thermoset (non-melting) plastics to form the part out of polyurethane (PUR), epoxies (EP), polyester (UPR), or possibly nylon/polyamide (PA). Time to have the first completed, working part ~1 week

3) Design and mill out an injection molding die. We have 3 or 4 injection molding machines for low volume projects here on campus, so I could use any of those. This would allow me to inject virtually any thermoplastic (melting plastic) into the mold. This is the least attractive option to me because designing and machining a mold takes lots of effort. But, if I knew it would be worth my while, I could sink the time into it and make several while I still have the means. Time to first completed, working part ~2-4 months

Here are more pictures to add to the nostalgia...


Here are CAD renderings based on measurements I took reverse engineering style. I'll add some fillets here and there to avoid stress concentrations, but otherwise it looks good and I am going to *try* to make a set today out of aluminum in see where I get...


... I am sure that there is some engineering flaw that I have overlooked that won't let it work on the car, but that's how we learn, right? I'll revise and make again if need be.


Here is what I got done today on the sliding sunroof tabs. It took most of my day, but I am very pleased with them. They are dimensionally accurate, but much stronger than the old tabs. A little time in the machine shop tomorrow will have these ready for install!


2D cut slug


3D cut complete along with pivot pin (had to be cut separately for ease of manufacturing- held together with a tight .002" press-fit)


These tabs will be cut apart down the middle of the common pin (again just thinking of ease of manufacturing)


I made replacement set 2.0 today, again I'll have to finish the machining tomorrow. But the assembly is more flexible and it cut better too (mostly by virtue of having done it before).


Thinner pinchers


Thinner and more flexible feet. Not a very good photo I see...

I finished the job up today after a few revisions to the design. I am very pleased with the result. The precision machining paid off as there was not a single snag in the reinstallation. Everything fits and functions properly.

I've decided, in response to some concerns raised in having aluminum and steel together, to monitor the wear on the tracks. I took photos on the current track condition so I can have empirical evidence as I make my judgments. But given the relative low motion (1-5 oscillations/day) and stresses on these mating surfaces, I will wager that this part and the track will outlast the car.

Here it is, good alternative to $104 for the guide rail kits?


All done machining. Two revisions next to the OEM sliding tab.


I took some time with the polishing wheel to smooth the mating surfaces. That should minimize abrasion.


Notice the polish on the finished piece.


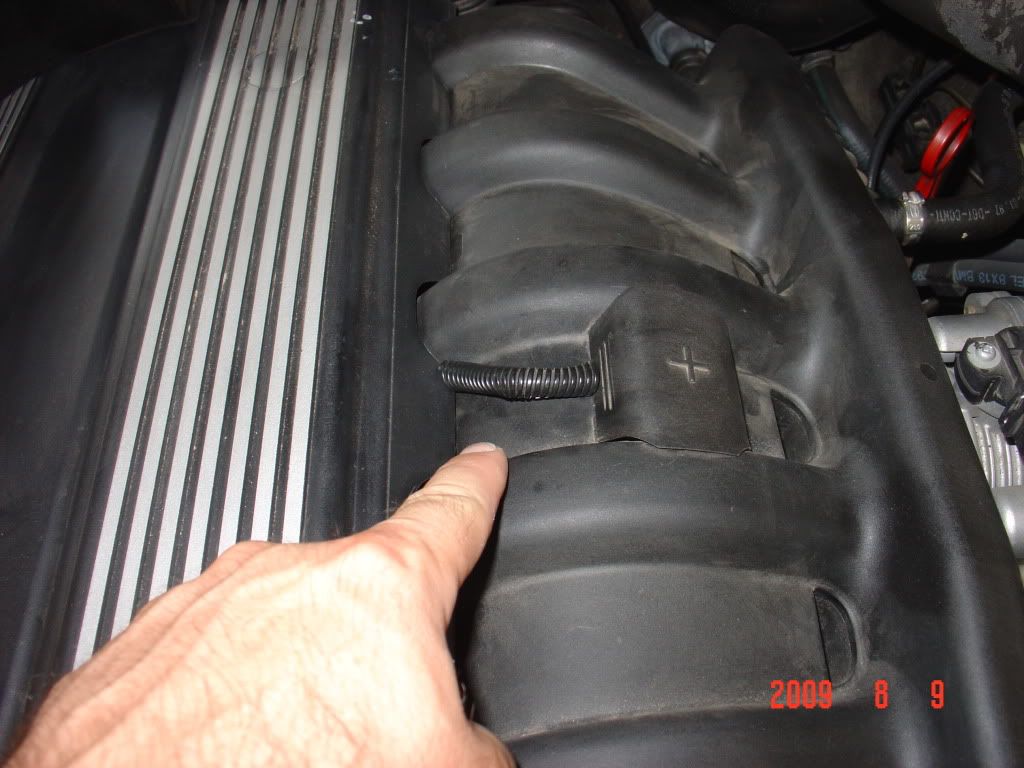
Snug fit on the roof height control arm


Lithium grease- for good sliding esp. during break-in


Back in place


Tracks both back together


Roof completely recessed


And the lost function: finally have my tilt feature back. MAN, that was a tough three weeks! Haha


I really do like having the tilt feature. I have it popped most of the time in the summer to cool the interior in the sun even with the windows shut to stifle any unexpected rainstorms. It is just a poor design on BMW's part. Admittedly, I broke these pieces by sliding the shade forward too quickly (I thought the roof was closed) and *SNAP* there they went. Pretty lame if you ask me. My roof may break again, but not these pieces!